No-Bake, Chocolate, Peanut-Butter Bars
Ok, so I cannot exactly boast that this is a healthy alternative to a dessert, or a non-fattening snack, but I can say that—with only 6 ingredients—it’s easy to manage the quality of the food your ingesting and the simplicity of these powerfully flavored little bites makes them wonderful sources of energy boosts, or relievers of sugar cravings.
What I especially like about this recipe is that it’s relatively quick and very easy, and doesn’t require many tools—just keep your set up close to the sink, rinsing your measuring cups as you go, and you’ll have a very manageable “mess” on your hands!
Overall Time: 1 hour and 15 minutes
Serves: Enough to snack on for 4-7 days!
Ingredients:
1 1/2 cup Almond Meal
16 tablespoons of Maple Syrup (or, pretty much, a small bottle)
1/2 cup + 4 tablespoons cocoa powder
1 cup peanut butter
A few pinches of salt
1/2 cup + 4 tablespoons of coconut oil (melted, or at room temperature)

Directions:


Find a small baking pan—it can be any shape, but I find that a 9x9 inch baking pan works best. Line the pan with parchment paper, while leaving enough excess paper around the edges to pull the mixture out easily, later. I always find this is a frustrating task as the paper never does exactly what I want, but if you crease the interior edges a little it should lay relatively flat, and will even out when the first mixture is spread on top of it.
Using a blender, (or a NutriBullet, like I do), combine the almond flour with 4 tablespoons of cocoa powder, 2 tablespoons of coconut oil, and a pinch of salt to taste.
Pour the coarse mixture into the pan and use a spatula to even its out, flattening it along the bottom of the pan and easing it into the four corners.
Move pan to freezer, and clean out your blender for the next layer.
Combine peanut butter, 6 tablespoons of syrup, 2 tablespoons of coconut oil and a pinch of salt to taste until creamy and smooth.
Remove the first layer from the freezer and pour peanut butter mixture on top, evening it out into the corners of the parchment paper and pan. Don’t worry if your first layer isn’t completely frozen (it just has to be slightly hardened and cold to take on the filling).
Return the baking pan to the freezer and clean out your blender.
For the last layer, combine 1/2 cup of coconut oil, 1/2 cup of cocoa powder and 6 tablespoons of syrup. Once its blended it should become somewhat liquified.
Pour final layer onto the two previous ones after removing them from the freezer. Jiggle the pan around to even out the chocolatey finish. Return entire mixture to freezer and allow 30 minutes for the bars to take their full form.
Remove from pan, using the excess parchment paper as handles to pull it out of the pan. Using a sharp knife remove the excess edges which are imperfect (I normally use these strips to taste test the layers in their unified form). Cut the square mold into bite sized pieces (about one square inch per piece), and store in the freezer in an air-tight container, using parchment paper to separate the overlap and keep them from sticking to one another.
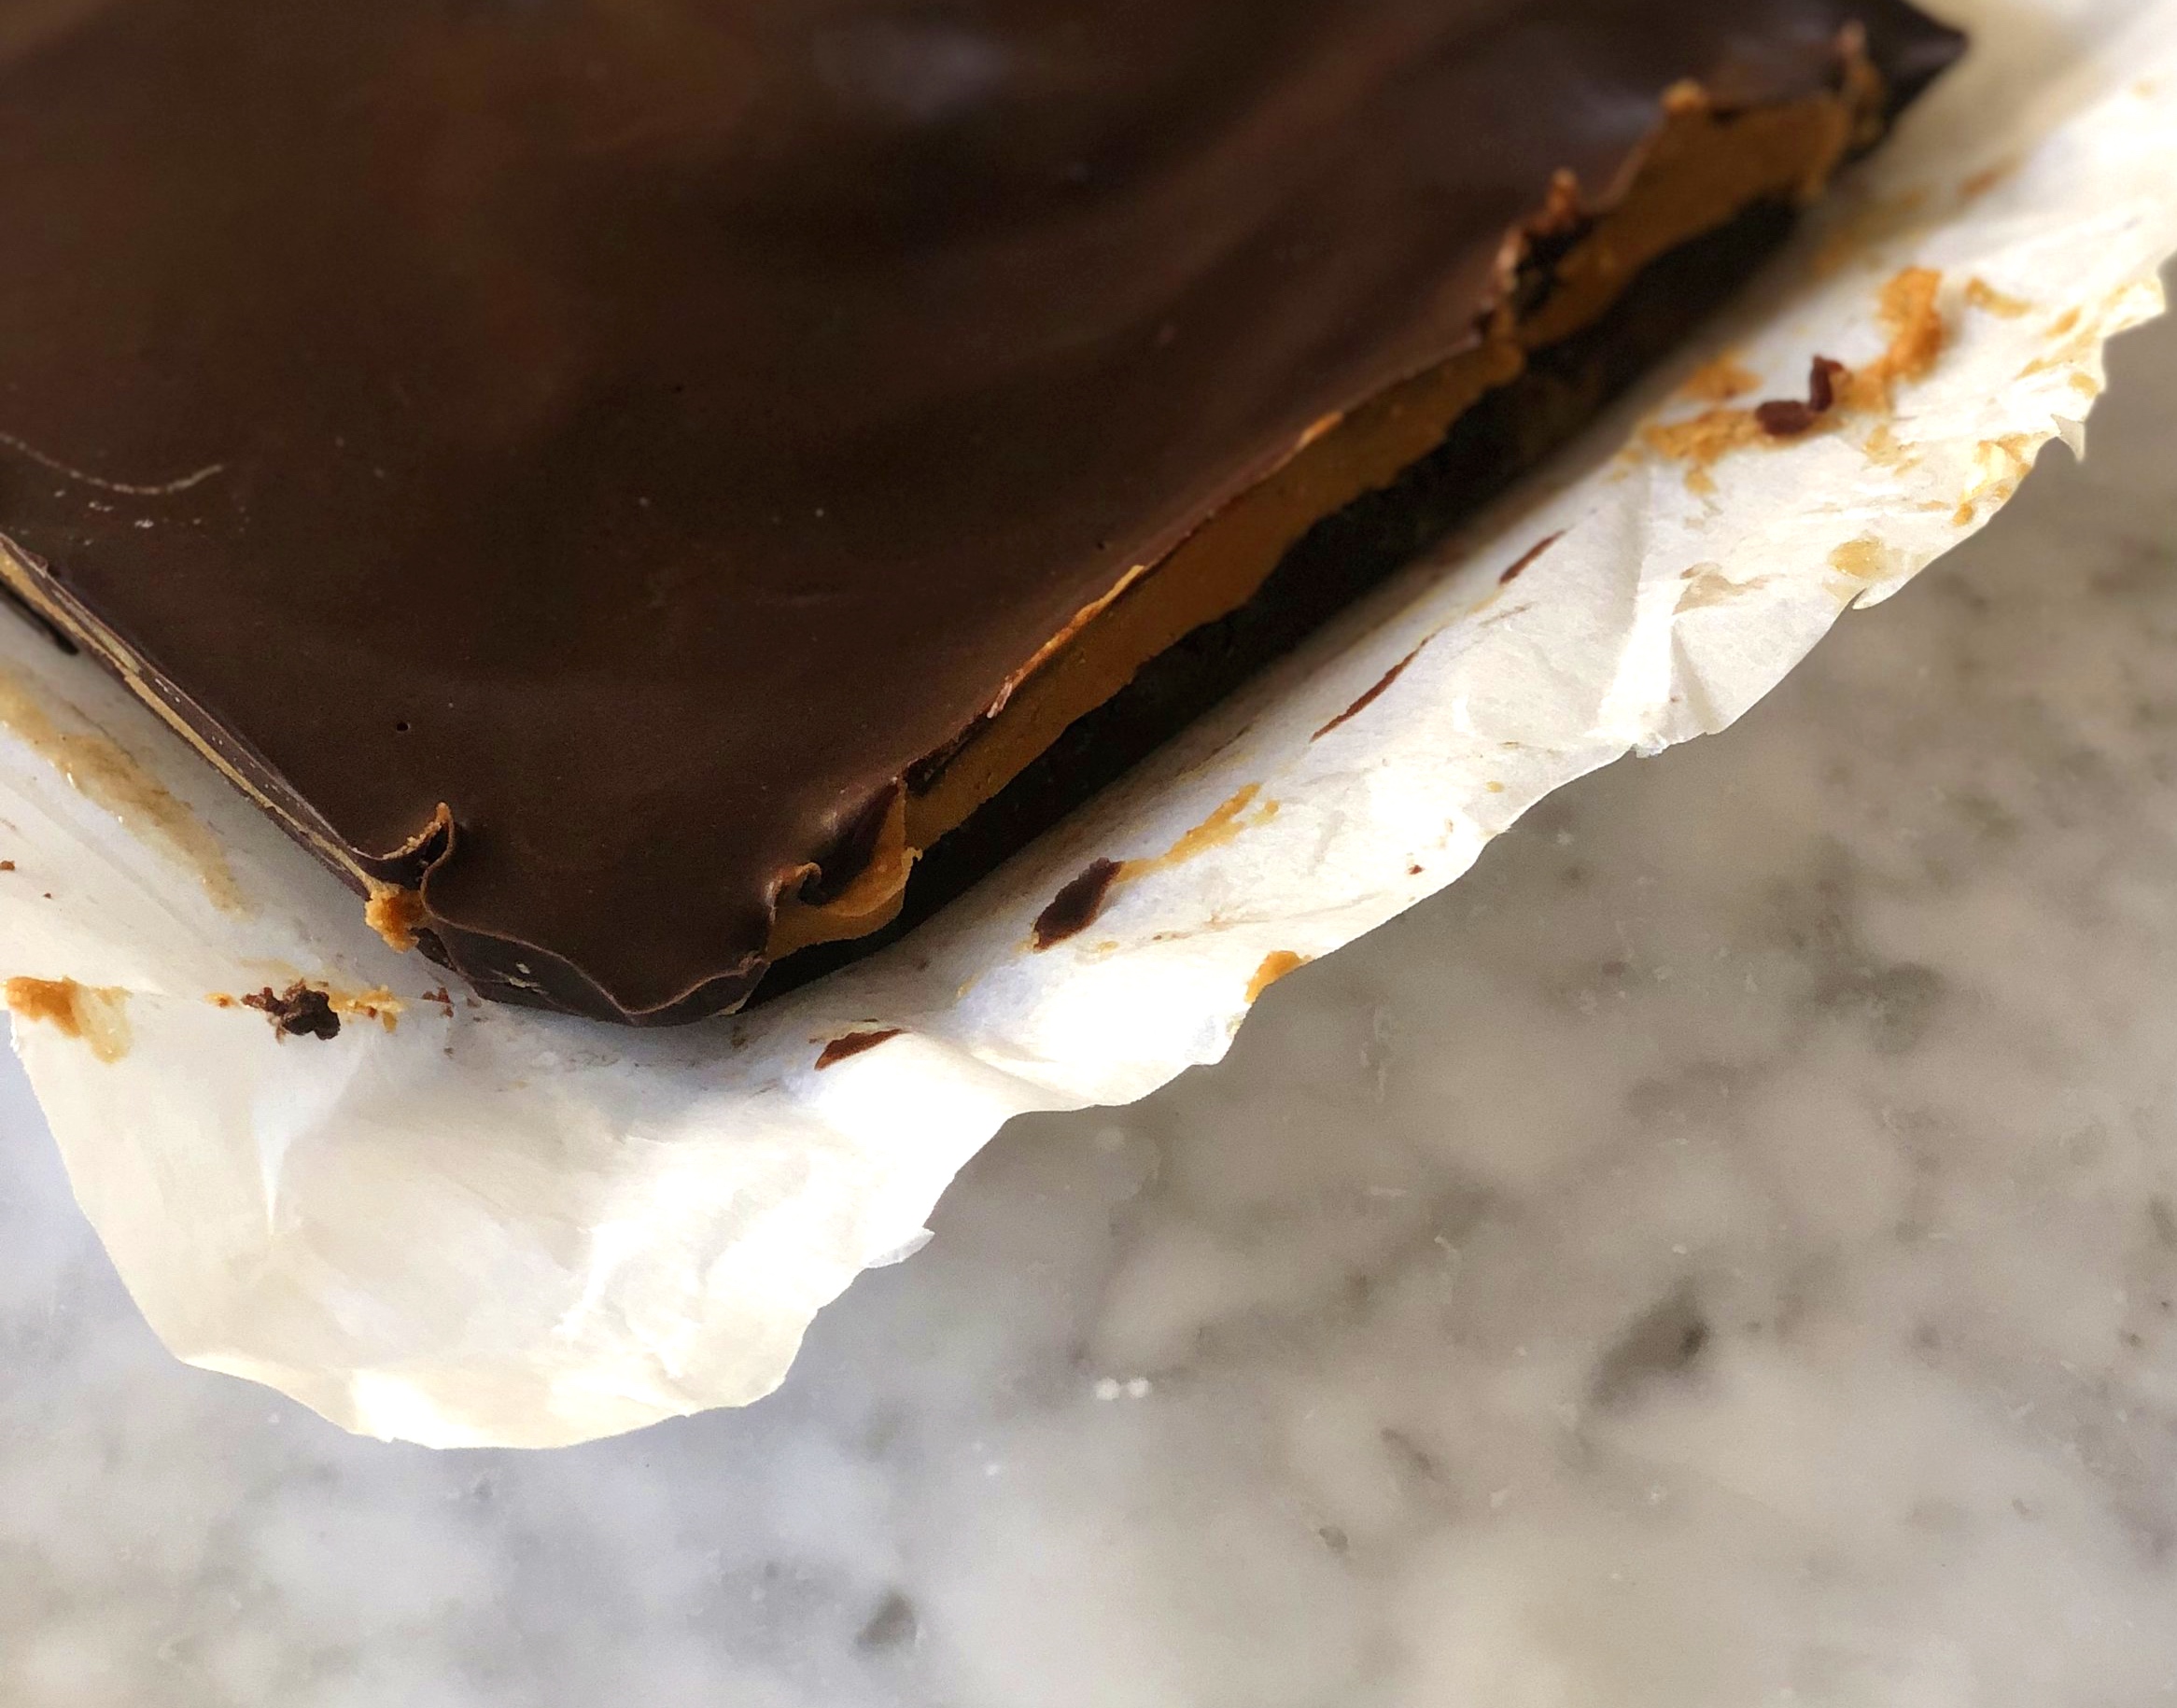
The more excess parchment paper, the easier it is to remove the solidified bars from the pan.
Enjoy!
xx,
Quentin Esme